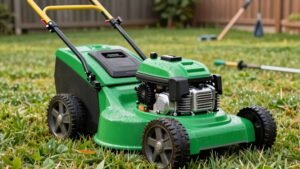
First, make sure the fuel tank’s full, the fuel tap is on, and the line isn’t clogged; then check the spark plug—remove it, look for wear, measure the gap, and test the spark. Next, clean the carburetor by spraying cleaner into the passages and blowing them out with compressed air. Verify the air filter isn’t blocked and that the pull‑cord and recoil assembly move freely. If you follow these steps, you’ll uncover the exact cause and fix it quickly.
Check Fuel System for a Mower That Won’t Start
If your Honda mower won’t start, the first place to look is the fuel system. First, do fuel level checks: pull the dipstick, confirm gas is present, and make sure the tank isn’t empty. An empty tank or low level will prevent ignition, so refill with fresh fuel if needed. Next, assess fuel quality issues. Gas older than one month can stale and solidify, choking the carburetor. If the fuel smells off or looks cloudy, drain the tank, clean the carburetor, and add a stabilizer for future storage. Also verify the fuel tap is turned on; a shut‑off valve mimics an empty tank. Check the fuel line for clogs before starting again; if it still won’t fire, move on to spark‑plug inspection. Additionally, inspect the air filter for debris that could restrict airflow and affect engine performance.

Great Product
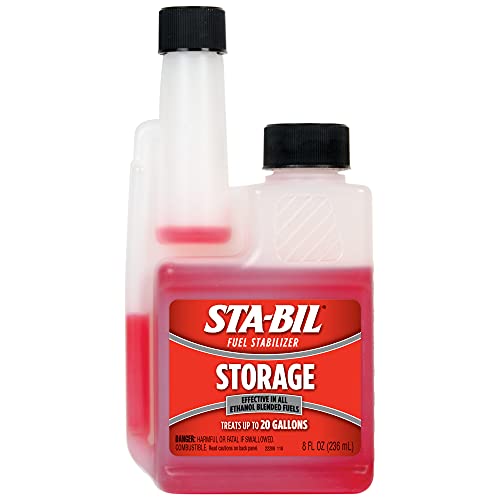
PRESERVES FUEL: This fuel stabilizer ensures keeps gasoline fresh for up to 24 months for storing vehicles that are not in use, boats, outdoor power equipment during winter months, or stocking up on fuel.

Genuine Honda fuel stabilizer & corrosion inhibitor. This is great for long-term storage, add 1 oz to every 5 gallons of fuel and it will keep the gas stabile for up to a year!
Inspect Spark Plugs and Test Spark
A few quick checks can tell you whether the spark plug is the culprit behind a mower that won’t fire. First, disconnect the plug lead and remove the plug with a socket, then inspect the electrode condition. Look for rust, cracked porcelain, or burnt‑away electrodes, and use carbon buildup detection to spot black deposits, oil fouling, or green/yellow glaze. If the gap appears off, measure it with a gap tool and adjust to the manual’s spec. Reconnect the coil, ground the plug to the engine block, and pull the starter rope; a strong, steady spark at the electrodes confirms it. Use a spark tester or multimeter for continuity checks. Clean minor fouling with a wire brush, replace heavily worn or damaged plugs, and reinstall with proper torque. Proper clearance between the electrodes is essential for reliable ignition. Follow the step‑by‑step method in the spark plug inspection guide to ensure safe and accurate testing. Remember to wear protective gloves when handling the plug to avoid injury and maintain cleanliness.
Clean Carburetor to Restore Fuel Flow
A clogged carburetor is often the main reason your mower won’t fire, and cleaning it restores proper fuel flow quickly. First, remove the air filter assembly, then detach the fuel line with pliers and tilt the carburetor to free all connections. Drain the fuel bowl before disassembly to avoid spills. Spray carburetor cleaner into the main jet, emulsion tube, and tiny holes; use a thin wire tool to clear idle circuits. Blow out all passages with compressed air, or sun‑dry if needed, and verify the bowl is crystal clear. Reassemble, checking gaskets and hand‑tightening bolts before fully securing them. Re‑install throttle and fuel line, then check float bowl operation and inspect throttle adjustment. Start the mower outside, confirm smooth idle and full‑throttle response. Inspect fuel line for clogs or damage before re‑installing.

Fixes rough running and hard-to-start engines: Breaks down gum and varnish that cause rough running, hard starts, sputtering, and no-start issues in small engines, helping restore performance quickly
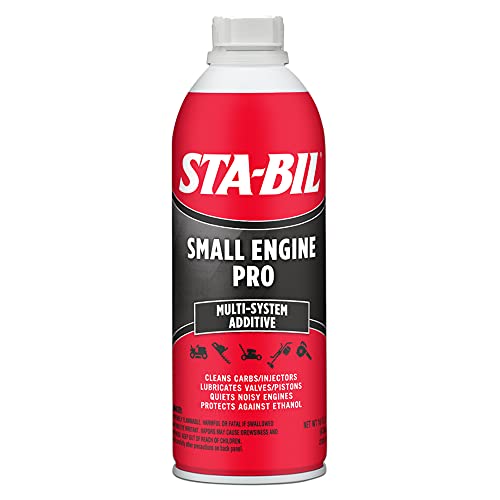
Clean and improve your fuel system with Small Engine Pro, a gasoline/oil additive that helps restore lost engine power and performance, by cleaning out gum and varnish
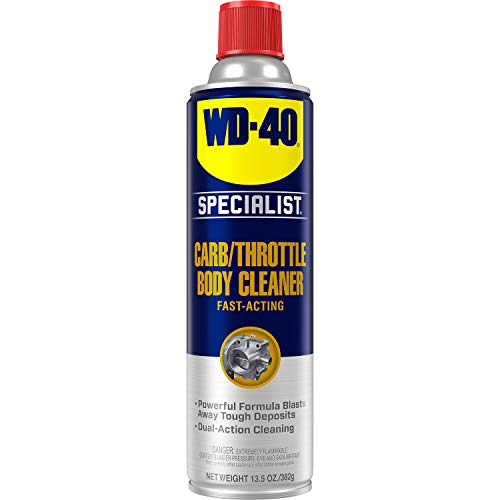
The only all-in-one carburetor cleaner spray you will need to clean your carburetor, throttle body, and unpainted metal parts
Verify Air Filter and Airflow
Two steps will get your air filter checked and airflow restored: first, turn off the engine, let it cool, and disconnect the spark‑plug wire; then, press the tabs on the housing cover, snap it open, and note the filter’s orientation before removal. Pull the filter out, wipe the housing clean, and tap the filter on a hard surface to dislodge debris. If it’s heavily soiled or torn, perform an air filter replacement; otherwise, clean it with compressed air (≤30 psi) and re‑oil foam filters. Follow the filter maintenance schedule: clean after 25 hours, then every 50 hours or six months, and replace every 150 hours or two years. Reinstall, re‑connect the spark plug, and verify smooth airflow before restarting the mower. The black box can be opened without tools, allowing quick access to the filter. Proper blade height helps prevent uneven cuts and protects the mower’s engine. Use a soft brush or a mild detergent soak for stubborn grime before drying. Regularly checking the mower deck level ensures even cutting and optimal performance.

Professional Element: Replace for Honda air filter OEM # 17211-Z8B-901, fit Honda GCV160A0 GCV160LA0 GCV160LA1 GC190LA GCV190LA GCV200LA engine lawn mower air filter.


Premium Air Filter: Soft gasket, better seal. Larger filter area, higher air intake. Less rubber flash, breathe better and higher gas mileage.
Inspect Pull‑Cord & Linkages
After confirming the air filter’s clear and airflow is unrestricted, turn your attention to the pull‑cord and its linkages. First, make sure the engine is off, then pull the cord while the brake handle is fully depressed; a stuck rope usually means the brake isn’t engaged. Next, tip the mower backward, disengage the controls, and feel for wheel drag—excessive resistance points to binding in the starter assembly. Remove the starter assembly and perform rope retraction checks: inspect the starter assembly tabs and cam for smooth movement and guarantee the pulley spins freely. Clean any debris from the recoil housing, then re‑install the assembly, confirming the tabs extend correctly before testing the pull again. The mower’s blade clutch may be causing the pull‑rope difficulty. Wear gloves while handling the blade to protect your hands from sharp edges. Also, check the recoil spring tension to ensure the cord rewinds smoothly after each pull.
Perform Quick Start‑Up Test
Once you’ve verified fuel, choke, oil, and air filter, run a quick start‑up test: engage the bail lever, pull the cord firmly while the brake handle is fully depressed, and listen for the engine to fire. If it sputters or won’t fire, double‑check that the bail lever is fully seated and the spark‑plug wire is tight. Next, tighten fasteners on the cord housing and starter linkage; loose bolts can prevent proper tension. Then, adjust speed control to the lowest setting and try again—this reduces load and helps the engine catch. Should the engine still stall, inspect the carburetor response with a spray of cleaner, and verify the choke butterfly closes fully. The thermal wax cartridge often sticks the choke open, preventing the engine from getting enough fuel to start. Continuity testing with a multimeter can confirm whether the coil is functioning properly. Additionally, you can perform a solenoid resistance check using a multimeter to ensure the starter solenoid is not faulty. Remember to always check the primer bulb pressure before pulling the cord to ensure the fuel system is primed.